


 It’s hard to think about the holidays without dreaming about sweet treats! An easy treat that my family loves to make this time of year is holiday peanut butter bites. They taste exactly like Reese’s peanut butter cups, but we put our own personal twist on them with mini cookie cutters and sprinkles.
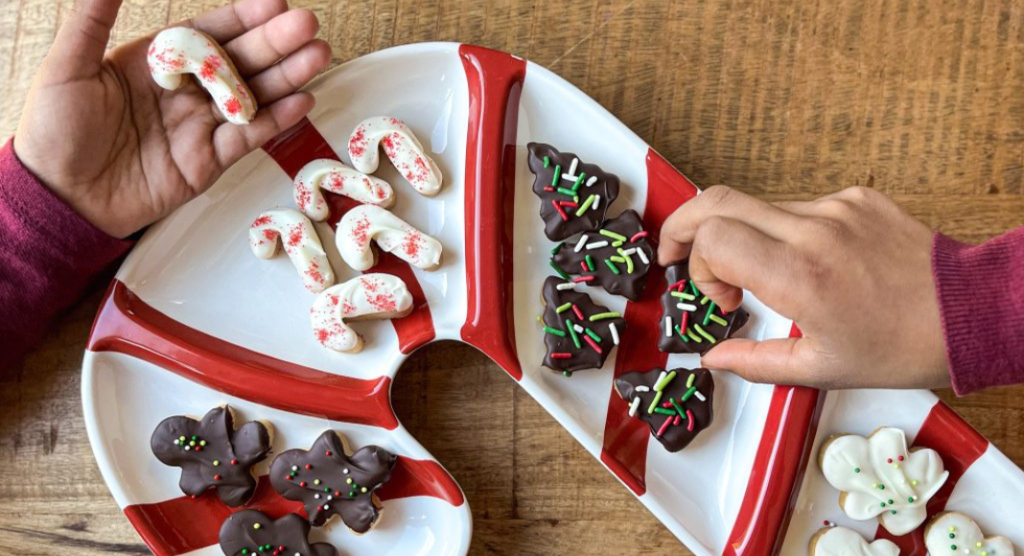
This recipe is perfect to make with kids for a few reasons. For starters, these bites are no-bake so it’s very safe for little hands to get involved. It’s also kid-friendly because if your measurements aren’t precise, it doesn’t make a huge difference on the outcome. They’ll taste delicious no matter what. And last, these are great because you can play with lots of different shapes and toppings so everyone can create whatever they desire.
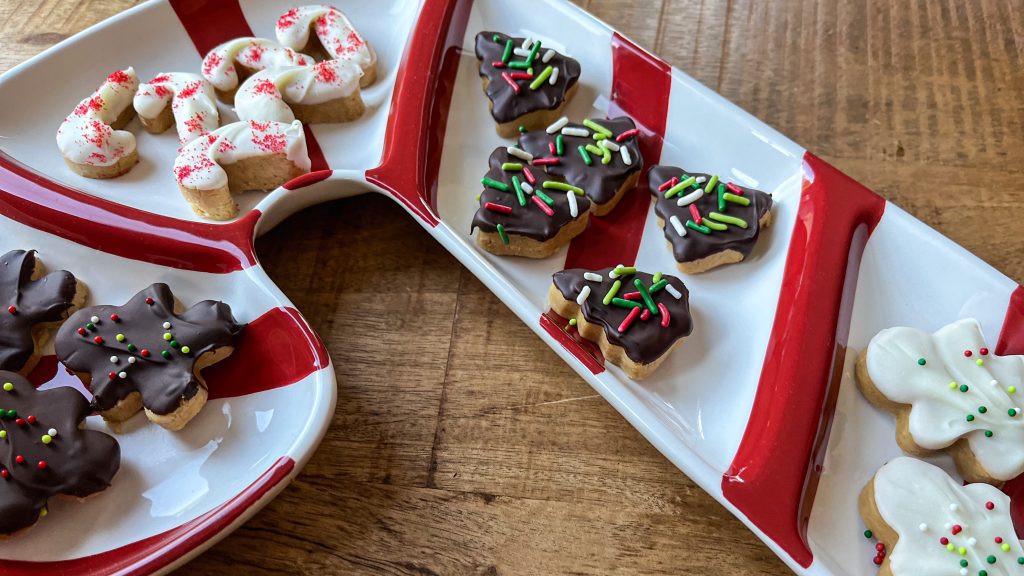
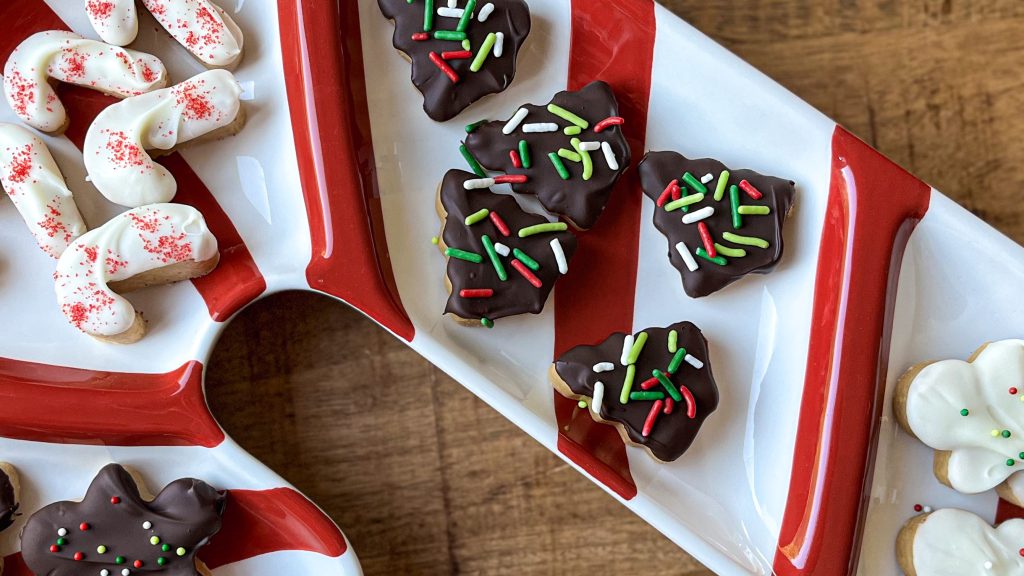
This year, we decided to make Christmas trees, candy canes, and gingerbread people. We were able to make about three dozen shapes because our cookie cutters were so small, but you can expect larger cookie cutters to yield fewer treats.
Holiday Mini Peanut Butter Bites
SUPPLIES
- 9×13 dish
- Parchment paper or wax paper
- One medium mixing bowl
- Small mixing bowl(s), depending on how many types of chocolate you use
- Mixer
- Spatula or spoon
- Cookie cutters
- Tray or large plate
INGREDIENTS
- 1 cup creamy peanut butter
- ¼ cup unsalted butter, melted
- 2 tbsp brown sugar
- 2 tsp vanilla extract
- ¼ tsp salt
- 2 cups powdered sugar
- 10oz chocolate chips (we used half dark chocolate and half white chocolate)
INSTRUCTIONS
- Line your 9×13 dish with parchment paper.
- Use a mixer to combine the peanut butter, butter, brown sugar, vanilla, and salt.
- Stir in the powdered sugar, little by little. The mixture will be crumbly.
- Press the mixture into an even layer in the dish. You want to really make sure it’s packed in tightly. The peanut butter will be more cooperative when it’s cold so put the dish in the freezer until the mixture firms, about 20 minutes.
- Take the dish out and use cookie cutters to make shapes in the peanut butter mixture. Transfer the shapes to a tray lined with parchment paper. You can take any excess, press it back together, and make additional shapes. Place the tray in the freezer for 30 more minutes.
- Warm up your chocolate. I like to do 20-30 second intervals in the microwave, stirring each time I check. Be careful not to overheat your chocolate because it could burn or coagulate.
- It’s finally time to coat your shapes! My oldest decided we would just dip the top half this time, but you can cover the entire peanut butter shape if you like. If you plan to add sprinkles, be sure to do it while the chocolate is still wet.
- Once the chocolate sets, they’re ready to eat!
We store our peanut butter bites in the fridge, but you can put them on a platter to share or package them up for friends. Either way, they’re sure to be enjoyed by all!


