I greatly admire those friends of mine who are always prepared. You know the ones. They make school lunches the night (or week) before, they carry an extra set of clothes with them, and they always remember holidays. I’m lucky to remember my child’s lunch as we’re walking out the door.
Despite the fact that red, white, and blue threw up all over every single store since Easter, the Fourth of July still somehow managed to sneak up on me. Luckily, there are two easy crafts that can not only give my child a taste of the holiday theme but also serve as last-minute decorations.
Pinwheel, Pinwheel, Spinning Around…
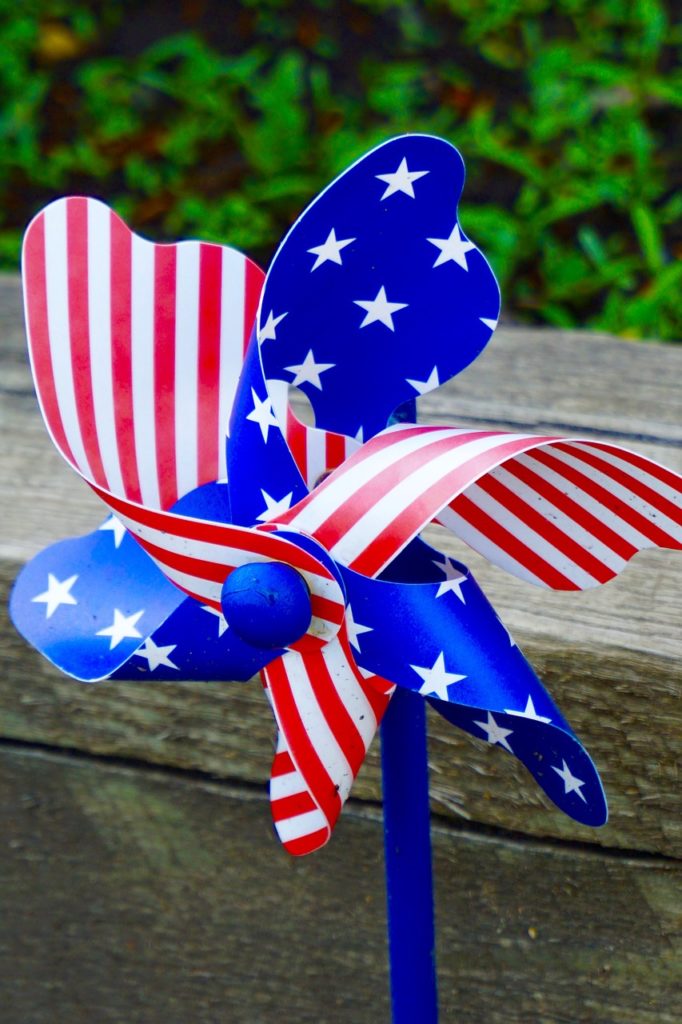
Pinwheels are surprisingly easy to make. All you need is a piece of paper, a hole punch, scissors, a straw or pencil, and a brad or thumbtack.
First, make sure your piece of paper is square. If you’re starting out with an 8.5 x 11″ piece of paper, take the top left corner and fold it down and across, making a triangle. Cut off the excess strip at the bottom. When you unfold the triangle, you’ll now have a square.
Note: I used a piece of paper with a blue print on one side. I opted not to decorate the flip side because I wanted it to be white and blue with a red brad in the middle. If you use a plain piece of paper, your child can decorate one or both sides. If you use a piece of paper that is printed on only one side, your child can decorate the flip side, or you can glue another printed piece of paper to the back so that you have a double-sided print.
Once you have a square piece of paper, fold the top left corner down and across, making a triangle (which is already done if you followed the step above). Unfold it and do the same with the top right corner. The creases should now make four equilateral triangles.
Next, punch a hole in the top left corner of each triangle (keep rotating the paper around so that each triangle has a turn at the top – this helps ensure your holes are in the right place). Then, punch a hole in the center of the square, where the four triangles meet.
Cut on each crease/fold line until you get about 1/2″ away from the center hole.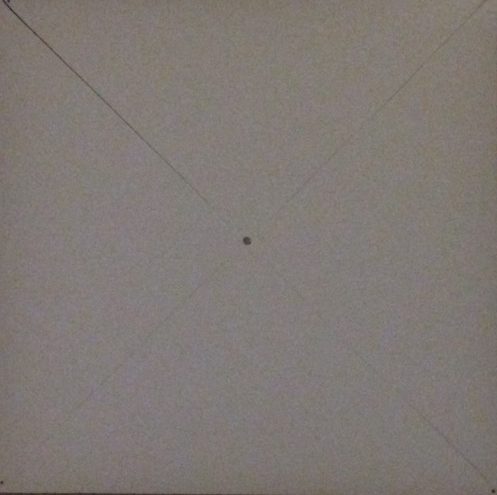
Take each corner that has the punched hole and bring it to the center of the square, lining up all five holes. Then, put a brad through the five holes, securing the pinwheel’s shape.
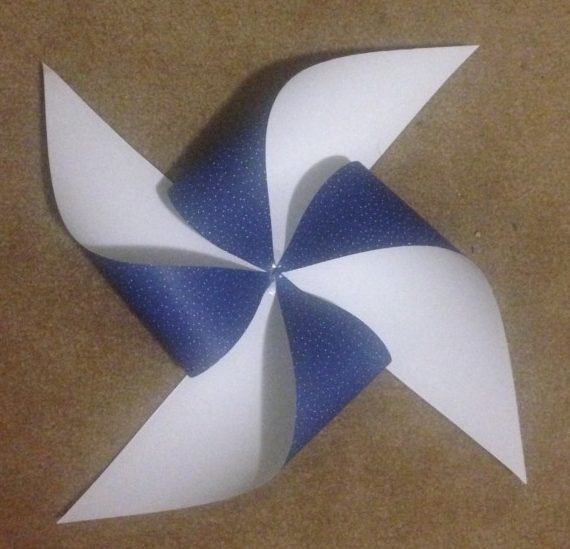
From here, I take a red straw (you know those really pretty paper ones?), punch a hole in one of its sides and use the center brad to secure the pinwheel to the straw. Some people choose, instead of using a brad, to put a thumbtack in the center of the pinwheel, pushing it into the eraser end of a pencil. Because my kiddo is young, I prefer the brad method.
Voila! You’ve occupied the kids AND made holiday decor. Or you could pick up a plastic pinwheel at the dollar store. 😉
Painted Fireworks
All you need for this one is paper, leftover paint, and a plastic (or regular – but not fine china!) fork.
Provide your child with a palette of different colored paints (red and blue are great – if you have them on hand). Dip the tines of the fork into one color and press the tines on the paper, dragging the fork away from the center. Repeat with the same color, moving in a circle. Then, repeat the process with another color to make multicolored fireworks. If you have glitter, it makes a nice sparkly touch before the paint dries.
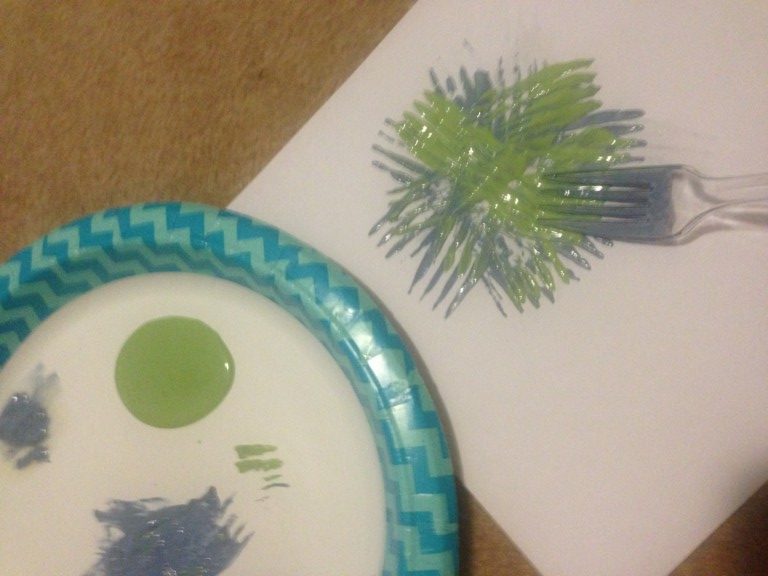
It may not have the same wow factor as real fireworks, but it’s a lot safer – and quieter!


